- Products 2022/05/23 UP
-
Easily Measure/Offset Geometric Tolerance of Rotary Axes
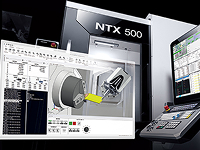
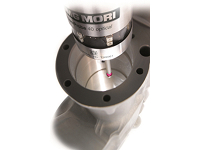
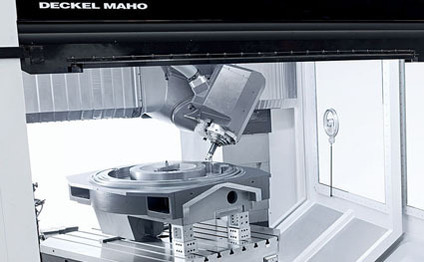
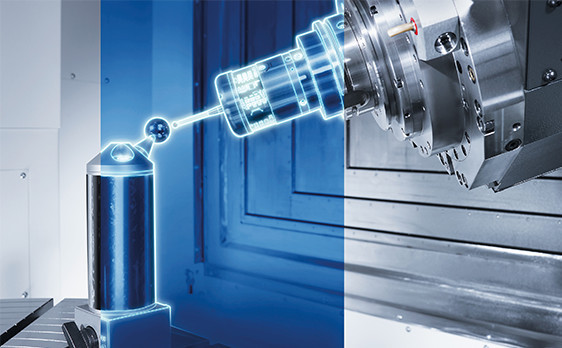
3D quickSET measures and offsets geometric tolerance of rotary axes easily on a 5-axis machine using a touch probe and a calibration sphere. It enables automatic measurement of geometric tolerances that can lead to poor-quality workpiece forms, and automatically reflects the measuring result in parameters to offset the tolerance.
Main Applicable models
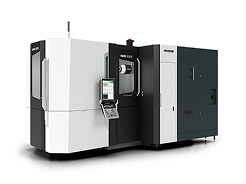
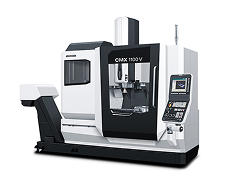
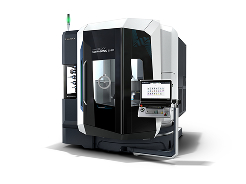
- DMU/DMC monoBLOCK series
- DMU/DMC(FD)duoBLOCK series
- HSC linear series
- DMF series
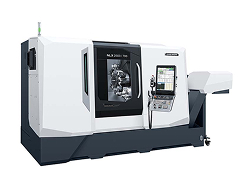
- NTX series
Background of Development
Motion errors of linear and rotary axes of machine tools can become large due to gravity and thermal displacement caused by temperature changes, so the errors need to be measured and offset before machining. Unlike 3-axis machining for which only linear axes are offset, the center of the rotary table has to be identified to offset errors for 5-axis machining that requires high accuracy. As the task is time-consuming, it has been practically difficult to make error measurements more than one time in a day despite the demand from customers. Therefore, DMG MORI has developed 3D quickSET that easily measures and offsets geometric tolerances in a short time.
Unique Selling Points
1.Versatility
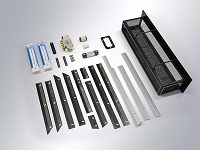
The 3D quickSET tool kit consists of the embedded software, specialized probe and calibration sphere. For those who already own measuring instruments, it is possible to use the software only.
2.Operability
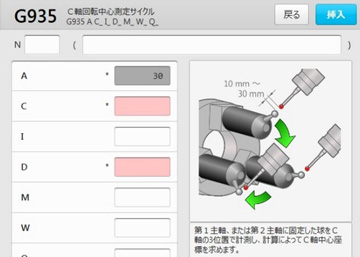
Operators simply place the calibration sphere on the table and bring the touch probe close to it, and start the measuring program. Measurement is automatically done with no complex operation required. Operators can input data according to the guidance and measure the rotary axis centers automatically without any special programming knowledge. A manual measurement with a test bar or dial gage takes some 30 minutes to finish; on the other hand, with 3D quickSET it only takes about 10 minutes.
3.High-accuracy measurement
As 3D quickSET performs automatic measurements, errors are less likely to occur and high-accuracy measurement is achieved. Measuring results are automatically reflected in the parameters to perform optimal offsets.
<SIEMENS>
<MAPPS>
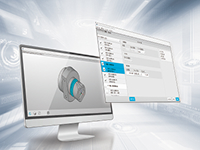
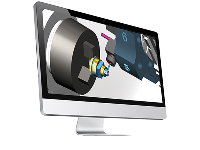
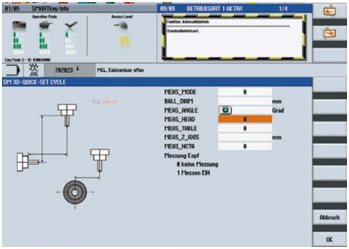
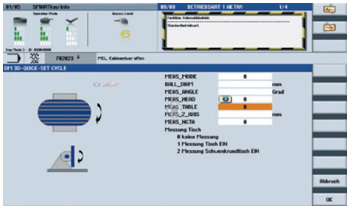
Programming screen

